Starting LITESOPH
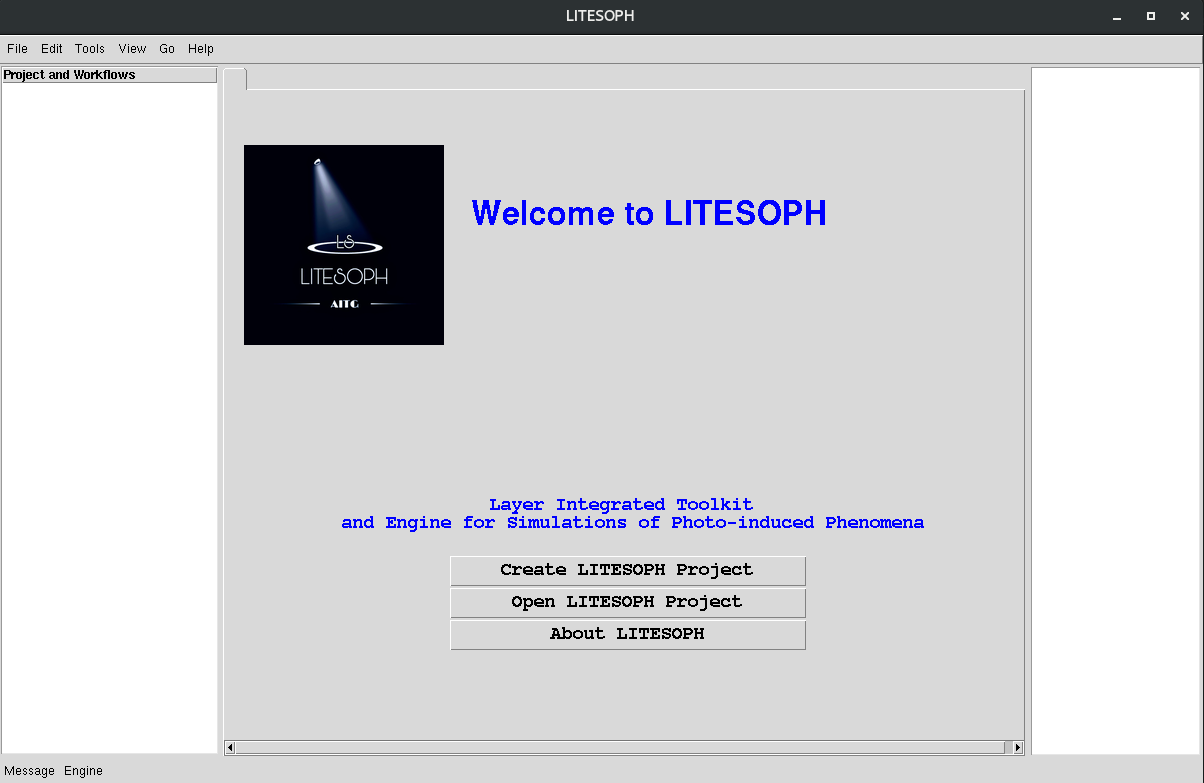
1. Create LITESOPH Project: Creates new LITESOPH project folder
2. Open LITESOPH Project: Opens an existing LITESOPH project folder
3. About LITESOPH: Links to the official website page
Create a new Project
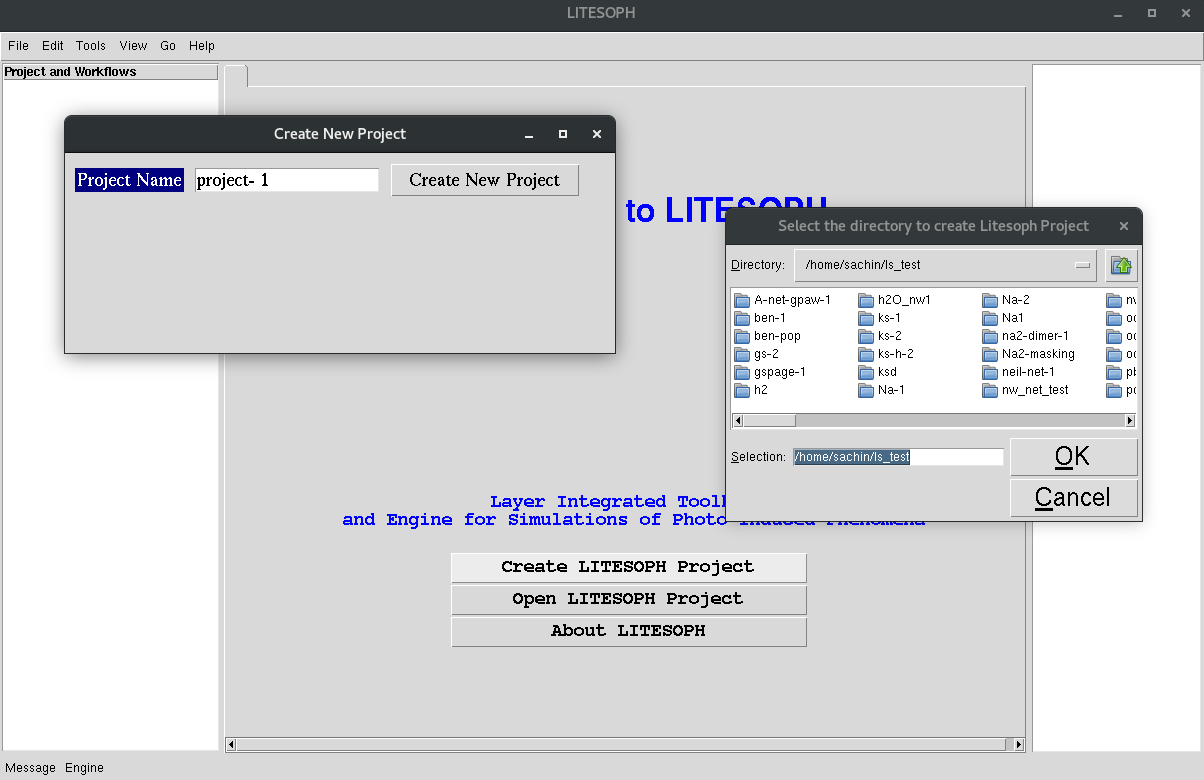
- 1. Create LITESOPH Project:
Enter the project name and select the directory.
Create a Workflow
- Available two options are:
New Workflow
Clone from an existing Workflow
New Workflow
Creates a new workflow from scratch.
Clone from an existing Workflow
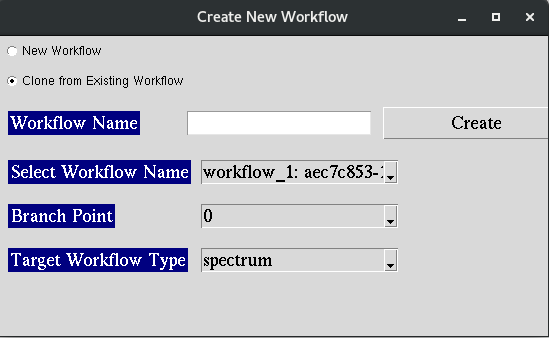
1.Creates a new workflow from existing workflows. 2.Select the workflow from available options. 3.Select the branch point: the tasks upto this point are copied from the existing workflows. 4.Select the workflow type to proceed with.
- LITESOPH calculation is initiated with creating a workflow under current project. This is a chain of tasks defined by
Workflow Mode
Task Mode
1. Menubar:
- File: Options:
New Workflow : Click to create a new Workflow under current LITESOPH project Create a Workflow
New Project
Open Project
Exit
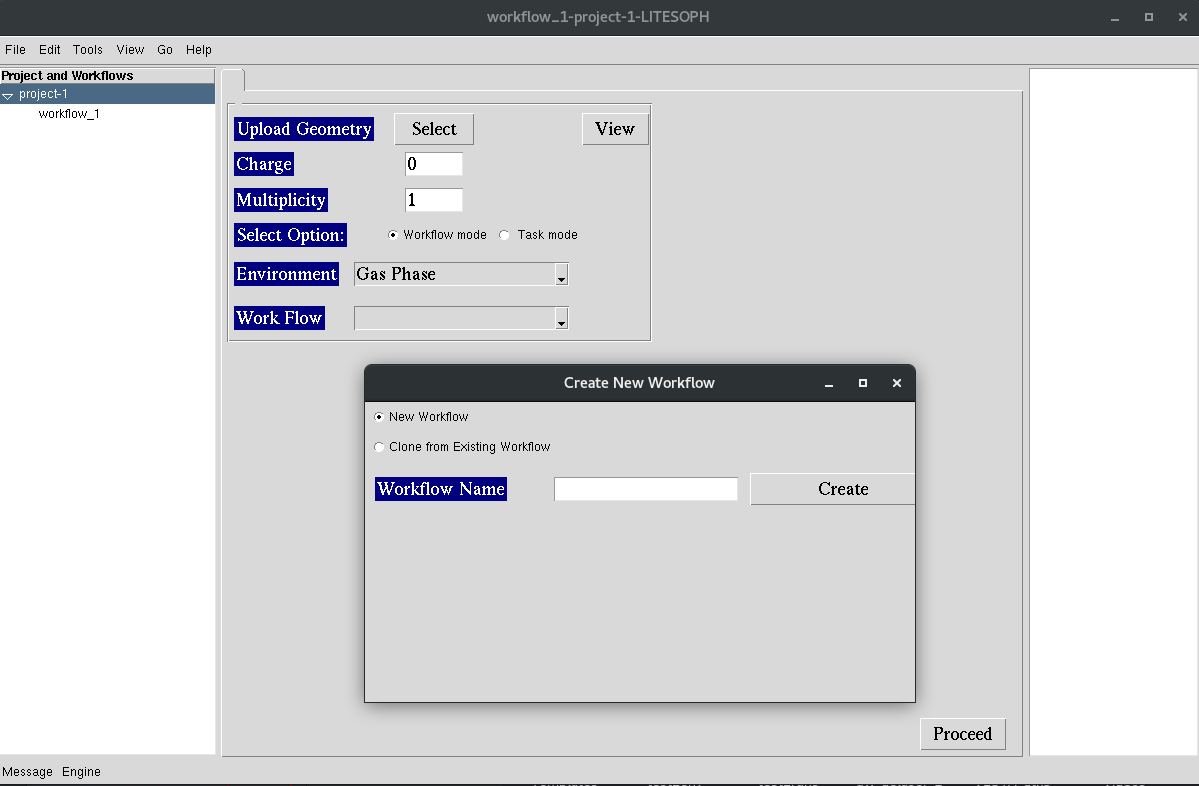
2. Left Panel: Shows the tree view of existing workflows under current LITESOPH project
- 3. Central Panel: Collects general information/options
Geometry
Upload Geometry: Uploads the geometry file in .xyz format
View: Visualizes the geometry file using visualization software such as VMD, VESTA
System Info
Charge
Multiplicity
- Select Options
Workflow Mode: Navigates the users through predefined steps for selected workflow (Link to workflow mode description)
Task Mode: Task-wise implementation defined under categories: Pre-processing, Simulation, Post-Processing
4. Right Panel: Shows the generated input and update to users, relavant to the current view in text format.